
Learning
Mastering the Magic Ring: The Easy Step-by-Step Method
Introduction: If you have ever tried crocheting in the round—whether making a granny square, a hat, or a cute plush toy—you know how frustrating a loose center hole can be. Enter the Magic Ring (also known as the Magic Circle). This powerful technique allows you to create a tight, adjustable loop that completely closes the center gap of your round projects. While it can feel a little tricky for beginners at first, mastering this simple step-by-step method will elevate your crochet work to a clean, professional standard. Let’s break it down together!
Why Use a Magic Ring?
Traditional methods for starting round projects often begin with a small chain loop, which leaves a visible hole in the center. The Magic Ring solves this problem entirely because the initial loop shrinks as you pull the tail end of your yarn, leaving zero gap. This makes it the ultimate foundation technique for amigurumi toys, hats, coasters, and circular motives.
Step-by-Step: The Easy Magic Ring Method
Step 1: Wrap the Yarn
Lay the yarn tail across your open left hand. Wrap the working yarn (the end connected to the ball) around your index and middle fingers, forming an "X" pattern on the front side of your fingers. Hold the intersection of the "X" gently with your thumb.
Step 2: Insert the Hook
Take your crochet hook and slide it under the first yarn strand (top left of the X) and over the second strand (top right of the X).
Step 3: Pull Up a Loop
Hook the second yarn strand and pull it under the first strand, rotating your hook slightly upward. You now have a twisted loop on your hook.
Step 4: Secure with a Chain
Carefully slip your fingers out of the loops while holding the ring shape with your left thumb and forefinger. Yarn over with your working yarn and pull through the loop on your hook to make a chain 1 (ch 1). This secures your magic ring!
Step 5: Work Your First Round
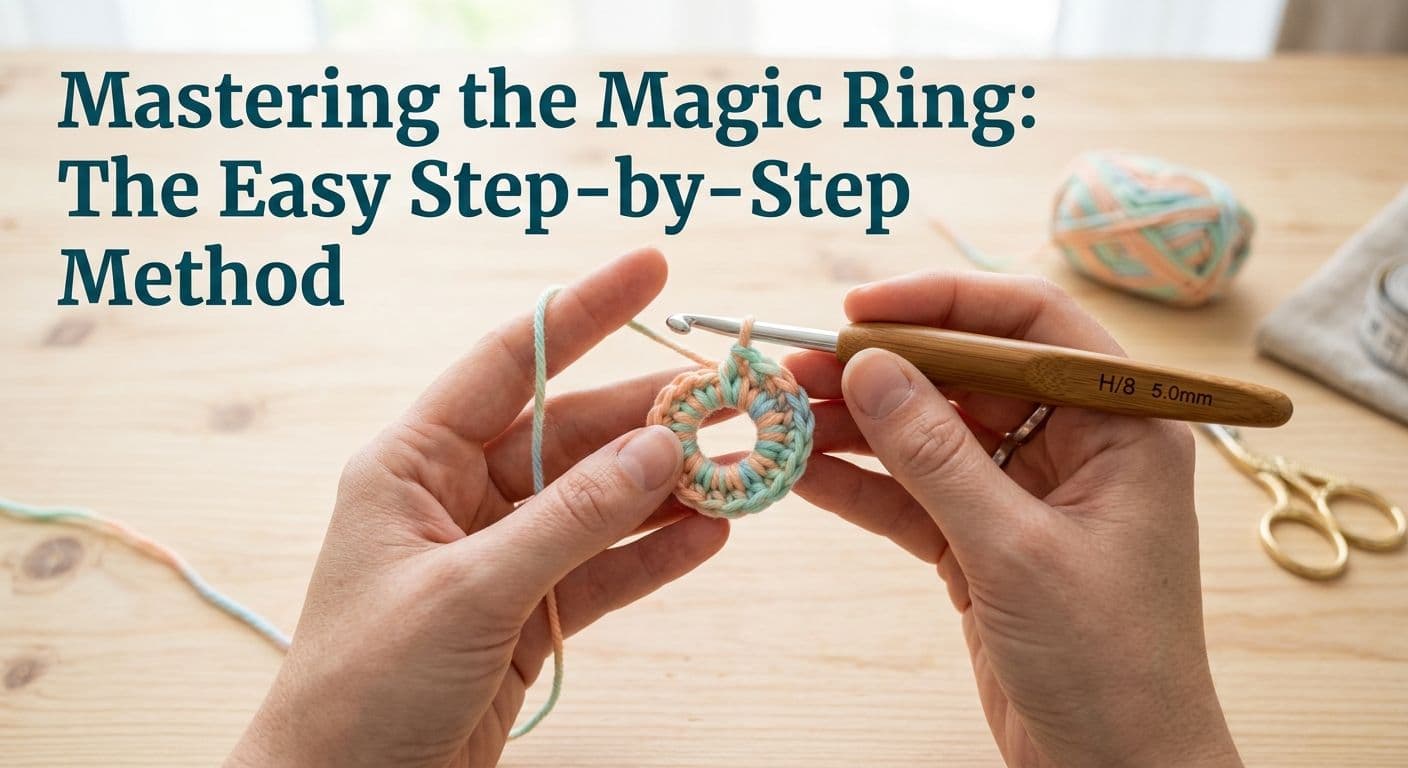
Work your pattern’s specified number of stitches (for example, 6 single crochets) directly over both the double ring strands (the loop itself and the short tail).
Step 6: Pull Tight!
Once all your stitches are completed, firmly pull the short yarn tail. Watch as the magic ring pulls closed, completely eliminating the center hole!
Pro Tips for Magic Ring Success
- Keep Your Tail Long Enough: Leave a 4 to 5-inch tail so you have plenty of yarn to pull and securely weave in afterwards.
- Don't Crochet Over the Tail Only: Make sure your stitches trap both the outer ring strand AND the tail end together so the mechanism slides smoothly.
- Secure the Tail: After closing the ring, weave the tail end thoroughly through the back of your first round stitches so it never opens up when washed or used.