Learning
How to Join New Yarn in Crochet Cleanly and Seamlessly
Introduction: Nothing is more satisfying than watching a crochet project take shape—until you hit the end of your yarn ball or need to switch to a new color! Many beginners make the mistake of tying tight, bulky knots that end up unraveling or poking through their neat stitches. Learning how to join a new skein of yarn or transition between colors cleanly and seamlessly is a game-changer. In this guide, we’ll show you the smooth, professional technique to join new yarn without weak knots or messy ends showing on your finished piece.
Why Avoid Standard Knots When Joining Yarn?
Simply tying two strands of yarn together with a basic knot might seem like the quickest fix, but it comes with major downsides:
- Bulky Bumps: Knots leave hard, unsightly lumps on the surface of soft blankets, garments, or toys.
- Unraveling Risk: Hard knots can slip loose over time, especially after machine washing.
- Visible Color Transitions: Tying knots when changing colors creates messy, misaligned color jumps instead of crisp, straight lines.
The Golden Rule: Join on the Last Pull-Through
The secret to a seamless join—whether adding a fresh ball of the same color or switching to a new color—is to introduce the new yarn at the very last step of the final stitch in your current color.
Step-by-Step Method:
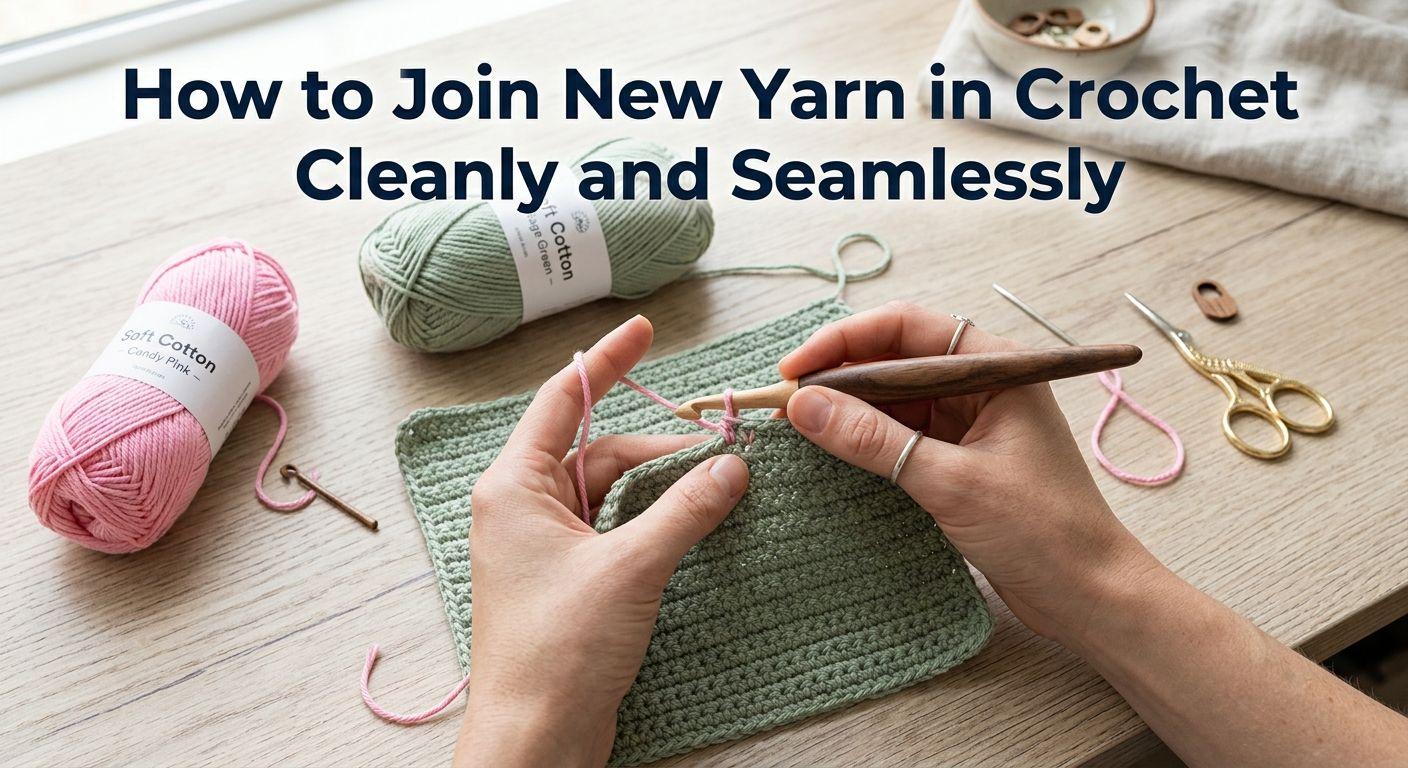
- Work the Final Stitch Almost to Completion: Start making your last stitch in the old yarn (e.g., insert hook, yarn over, pull up a loop). Stop right before the final yarn over that completes the stitch (you will have 2 loops on your hook for a single crochet, or 3 loops for a double crochet).
- Drop the Old Yarn: Drop the tail end of your old yarn to the back (wrong side) of your work.
- Pick Up the New Yarn: Fold a 4 to 5-inch tail of your new yarn into a simple loop around your hook.
- Complete the Stitch: Pull the new yarn loop directly through the remaining loops on your hook. Your stitch is now finished, and the loop on your hook is in the brand-new yarn color!
- Continue Crocheting: Work your next stitch as normal using the new working yarn.
3 Seamless Methods for Securing the Yarn Tails
1. Crocheting Over the Tails (Best for Solid/Opaque Stitches)
As you crochet the next row, lay both short tail ends (the old yarn tail and the new yarn tail) along the top of your stitches. Work your new stitches over these tails, trapping them inside the stitches for 5 to 6 stitches.
2. The Standing Stitch Method (Best for Starting New Rows)
If you are starting a completely new row with a new color, create a slip knot on your hook with the new yarn first. Insert your hook directly into the first stitch of the row and complete a standing stitch (single or double crochet) for a clean, knot-free edge.
3. Weaving in Ends with a Yarn Needle (Strongest & Safest)
Leave 5-inch tails for both the old and new yarn. After finishing your project, use a blunt tapestry/yarn needle to weave each tail through the back of matching color stitches in three different directions (zigzag pattern) to ensure it never slips out.
Pro Tips for Clean Yarn Transitions
- Maintain Tension: Keep gentle tension on both the old and new tails during the first 2 stitches after joining to prevent loose loops.
- Change Colors on the "Wrong" Side: When working in flat back-and-forth rows, always complete your final pull-through on the side that faces away from the front of your piece.
- Don't Cut Too Short: Always leave a generous tail (at least 4–6 inches). Short tails are extremely difficult to weave in securely later!