
Learning
How to Block Your Crochet Projects for a Professional Finish
Introduction: Have you ever finished a crochet blanket, shawl, or garment only to notice that the edges look a little wavy, the corners aren't perfectly square, or the stitch pattern looks tight and bunched up? Don't worry—your project isn't ruined! The secret step that separates homemade-looking items from crisp, store-bought quality is blocking. Blocking relaxes yarn fibers, evens out stitch tension, and sets your finished crochet project into its ideal final shape. In this step-by-step guide, we’ll explore the different blocking methods so you can give every handmade creation a clean, professional finish!
What Exactly Is Blocking?
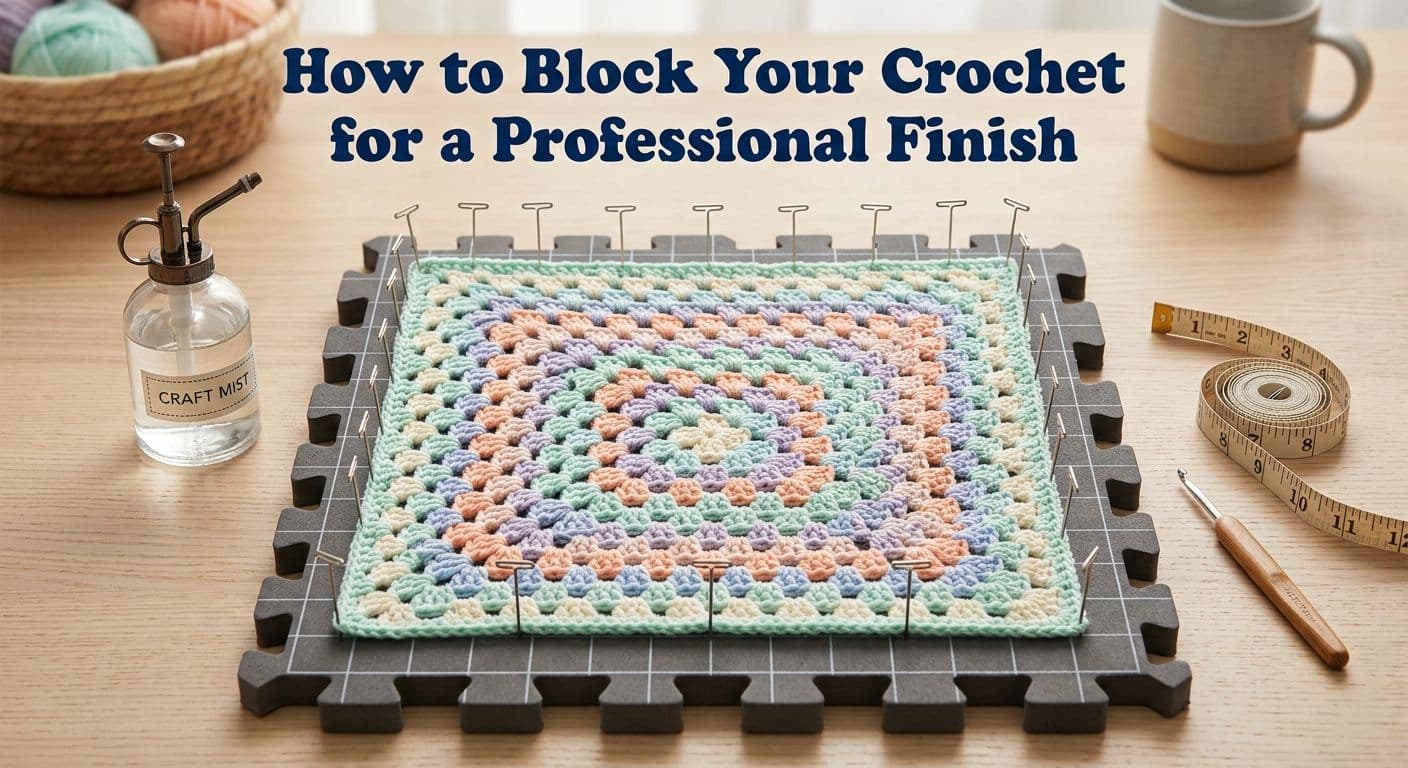
Blocking is the process of wetting or steaming your finished crochet piece, gently pinning it into its exact target dimensions on a flat mat, and letting it dry completely. It locks your stitches into place, aligns edges, and enhances the drape of your fabric—making intricate lace patterns pop open beautifully.
The 3 Main Methods of Blocking
1. Wet Blocking (Best for Natural Fibers like Cotton and Wool)
- How to Do It: Submerge your finished crochet piece in lukewarm water mixed with a drop of gentle wool wash or mild detergent for 15 minutes. Gently squeeze out excess water by wrapping it in a dry towel (never twist or wring the fabric!). Lay it flat on interlocking foam blocking mats, shape it to your desired measurements, and pin it down using rust-proof T-pins until completely dry.
2. Steam Blocking (Best for Acrylic and Synthetic Fibers)
- How to Do It: Pin your dry crochet project onto a blocking board in its final shape. Hold a garment steamer or the steam function of a clothing iron 1 to 2 inches ABOVE the fabric (never touch the iron directly to acrylic yarn, as it will melt!). Pass steam evenly across the piece. Allow the warm fibers to cool and dry thoroughly before removing the pins.
3. Spray Blocking (Best for Delicate or Light Projects)
- How to Do It: Pin your dry piece into shape on blocking mats. Use a fine-mist spray bottle filled with water to thoroughly dampen the entire surface. Let it air dry completely in a well-ventilated area.
Essential Blocking Tools You Need
- Foam Blocking Mats: Interlocking foam grids that protect your tables and provide a pinnable surface with ruler grids.
- Rust-Proof Stainless Steel T-Pins: Essential so moisture won't cause rust spots on your yarn.
- Measuring Tape: Helps ensure your edges are completely straight and equal on all sides.
Pro Tips for Blocking Success
- Never Wring or Twist: Wringing wet crochet stretches and warps fibers permanently. Always press water out between clean towels!
- Check Yarn Fiber First: Always check your yarn sleeve label before applying heat. Acrylic melts under direct heat, while wool responds wonderfully to steam and water.
- Be Patient: Let your project dry 100% on the boards before unpinning. Removing pins while slightly damp will cause the edges to curl back!