
Learning
Crochet Tension Masterclass: How to Get Even and Neat Stitches Every Time
Introduction: Have you ever wondered why two people can follow the exact same crochet pattern with the exact same yarn and hook, yet end up with completely different project sizes? The secret lies in crochet tension—how tightly or loosely you hold your yarn as you stitch. Masterful tension control is what transforms bumpy, uneven, or stiff work into smooth, professional, and beautifully draped crochet pieces. In this masterclass guide, we will break down how to control your yarn, adjust your grip, and achieve consistent, neat stitches every single time!
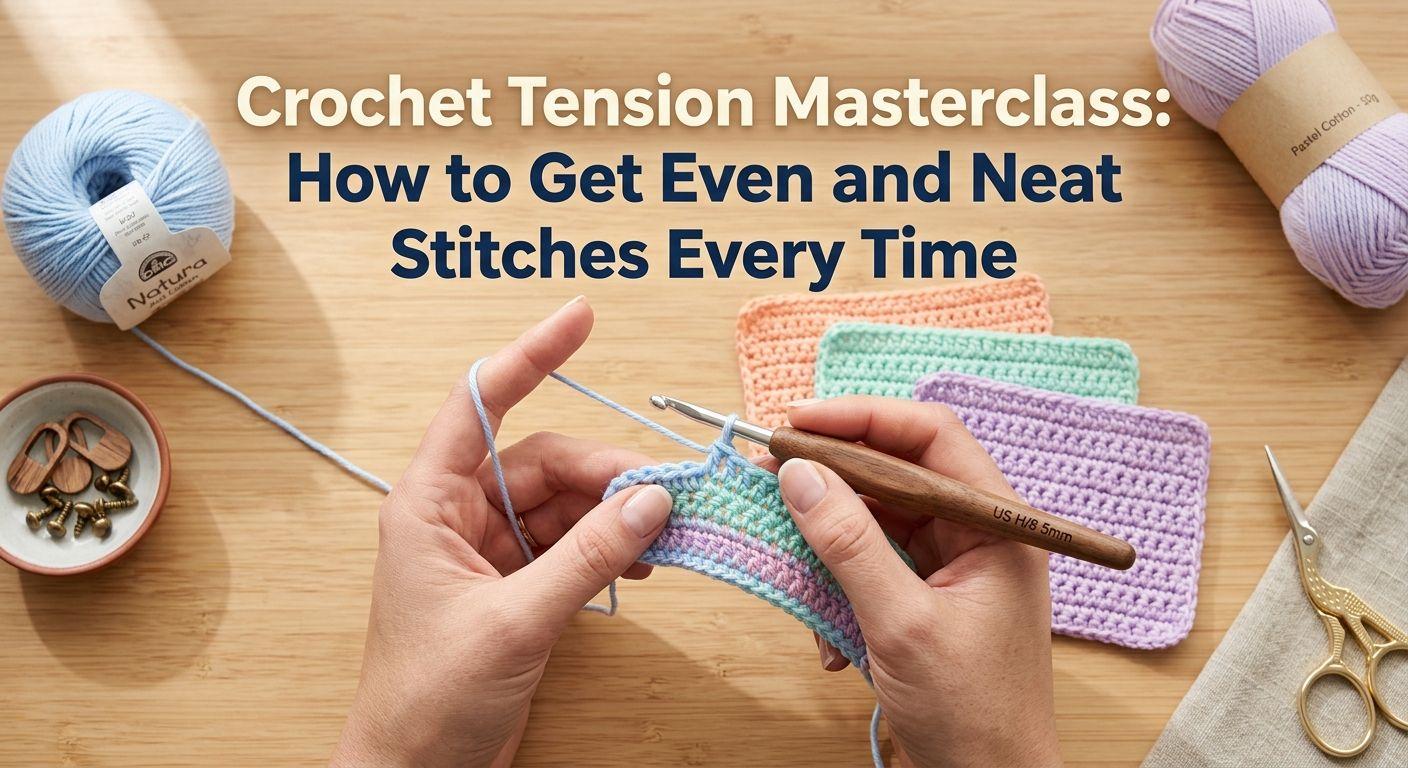
Why Is Crochet Tension So Important?
Tension determines the overall look, feel, and dimensions of your work.
- Too Tight: Stitches become small, rigid, and extremely painful to insert your hook into. Your hands will tire quickly, and projects will shrink.
- Too Loose: Stitches look gappy, messy, and uneven. Stuffing pokes out of plushies, and garments lose their shape.
- Consistent Tension: Stitches are uniform, edges remain perfectly straight, and your finished items look completely professional.
1. Finding Your Perfect Yarn Grip
How you feed the yarn through your non-dominant hand directly controls your tension. Try these popular hand positions to find what feels most natural:
- The Pinky Wrap Method: Loop the yarn once around your pinky finger, bring it under your ring and middle fingers, and drape it over your index finger. This provides steady, adjustable friction.
- The Over-Under Method: Weave the yarn over your index finger, under your middle finger, and over your ring finger. Great for crafters who prefer lighter tension.
- Tension Rings / Guides: If your fingers struggle with slipping yarn or hand fatigue, consider using an adjustable metal crochet tension ring.
2. Mind Your Golden Loop (Hook Angle Technique)
The height and density of your stitches are determined by the "Golden Loop"—the very first loop you pull up after inserting your hook into a stitch.
- If you pull up high (Rider): You will create tall, loose stitches with a flowy drape.
- If you pull snug immediately (Yanker): You will create short, extremely tight stitches.
- The Ideal Technique (Lifter): Pull your loop up slightly so it matches the height of the shaft on your crochet hook, keeping the hook parallel to your work before completing the yarn over.
3. Common Tension Fixes for Beginners
Fix 1: Relax Your Grip & Shoulders
Beginners often hold the hook with a "death grip" out of concentration. Relax your hands, lower your shoulders, and keep a smooth, fluid rhythm. Stress directly leads to overly tight stitches!
Fix 2: Match the Shaft, Not the Tip
Remember that stitch size is determined by the thick shaft of the hook, not the thin tapered neck or tip. Slide your stitches fully onto the hook shaft after every loop to ensure consistent sizing.
Fix 3: Adjust Hook Sizes Instead of Hand Force
Never force your hands to stitch tighter or looser than what feels natural. If your work is coming out too tight, simply switch to a larger hook. If your work is too loose, switch to a smaller hook.
Pro Tips for Consistent Tension
- Take Consistent Breaks: Hand fatigue alters your tension halfway through long crafting sessions. Rest your hands every 30 to 45 minutes.
- Work in the Same Sitting Environment: Stitching while lying in bed often produces different tension than sitting upright at a desk with good posture!
- Always Make a Gauge Swatch: For garments and blankets, crochet a 4x4 inch test square first to confirm your tension matches the pattern's requirements.