
Learning
Amigurumi for Beginners: 7 Simple Tips to Start Crocheting Toys
Introduction: There is something undeniably magical about holding a cute, handmade crochet plush toy and knowing you created it stitch by stitch from a simple ball of yarn. This Japanese art of knitting or crocheting small stuffed creatures is known as Amigurumi, and it has captured the hearts of crafters worldwide. If you’ve been intimidated by those adorable little animals on social media, don't worry! Starting your amigurumi journey doesn't have to be complicated. With a few foundational tips and tricks, you can create your very first cute plush toy with total confidence. Let’s dive in!
What Makes Amigurumi Different?
Unlike garments or blankets that use loose, draping stitches, amigurumi is worked in tight, continuous rounds using basic single crochets. This tight tension keeps the fiberfill stuffing securely tucked inside, giving toys their smooth, firm, and huggable shape.
7 Simple Tips to Start Crocheting Amigurumi
1. Choose the Right Yarn and Hook Size
For beginners, avoid fuzzy or velvety yarns on your very first try. Start with a smooth #4 Worsted Weight Cotton yarn paired with a hook that is smaller than recommended on the label (e.g., a 3.5mm or 4.0mm hook). This ensures your stitches stay tight so stuffing won't peek through.
2. Master the "X" Stitch vs. "V" Stitch
In standard crochet, yarn over techniques create a "V" shape. In amigurumi, doing Under-Over (yarn under instead of yarn over when pulling up a loop) creates an "X" stitch, which results in a denser, cleaner fabric with no gaps. Try practicing both to see which look you prefer!
3. Always Use a Stitch Marker
Because amigurumi is worked in continuous rounds (spiral method) rather than joined rows, it is very easy to lose track of where your round begins. Always place a stitch marker (or a scrap piece of contrasting yarn) in the very first stitch of every round.
4. Stuff Firmly, But Don't Over-Stuff
Use high-quality polyester fiberfill. Stuff your toy gradually as you go rather than cramming it all in at the end. Pack it firmly enough to keep its shape smooth and plump, but stop before the stuffing stretches your stitches apart and creates holes.
5. Learn the Invisible Decrease (invdec)
Standard decreases can leave bulky bumps or gaps in your toys. The Invisible Decrease (worked through the front loops only of the next two stitches) creates a seamless, professional finish on shaping and sloping areas of the body.
6. Keep Count of Your Stitches Consistently
The secret to a perfectly shaped toy is accurate stitch counting. Count your stitches at the end of every single round. Skipping or adding even one stitch can throw off the symmetry of your amigurumi piece.
7. Start with No-Sew or Simple Patterns
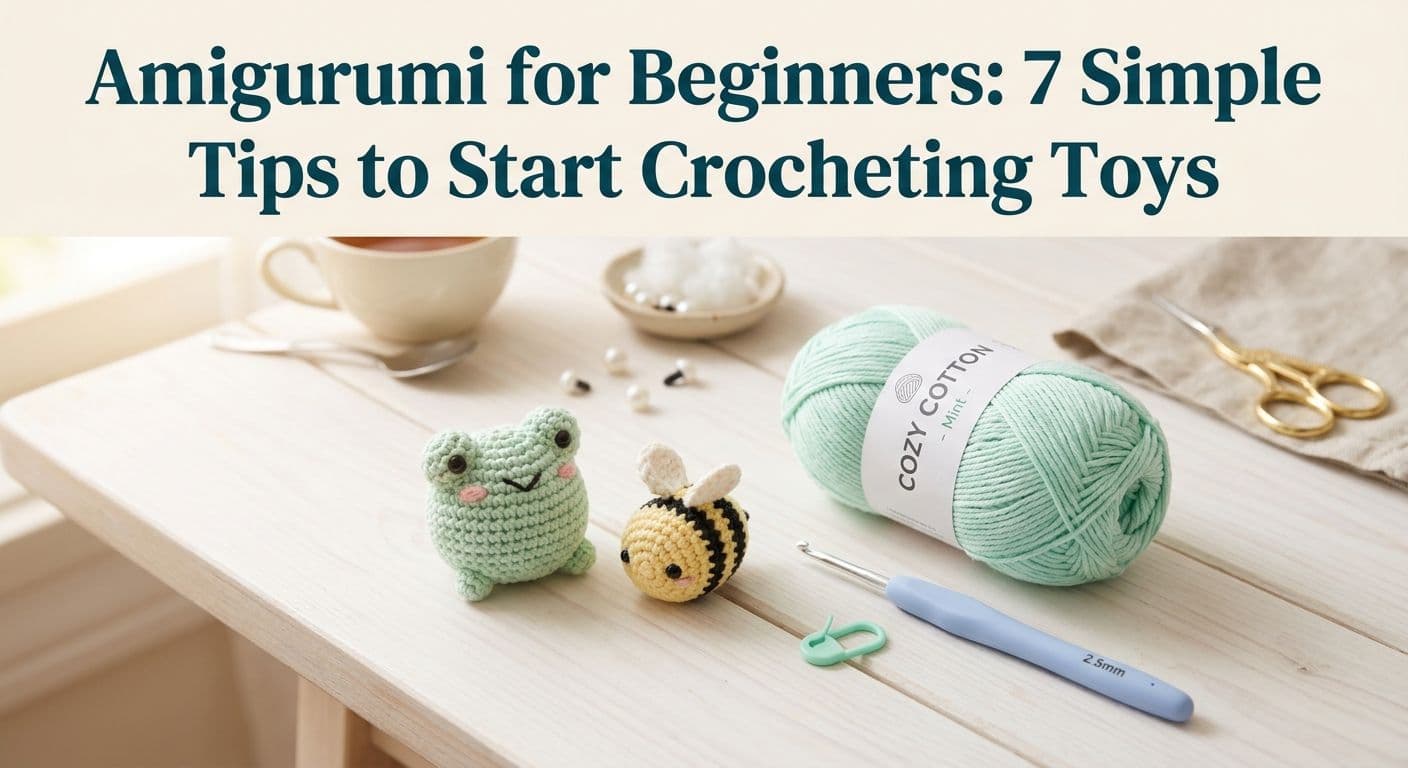
For your very first project, avoid patterns with dozens of separate pieces that require complex assembly. Start with simple shapes like a Mini Bumblebee, a Round Pocket Frog, or a Simple Capybara Keychain where the limbs are minimal or non-existent.
Final Encouragement
Your first amigurumi toy might look a little quirky, and that is completely normal! Every expert crafter started with uneven stitches and loose tension. Grab your yarn, be patient with your hands, and enjoy bringing your very first little creature to life.